Quick Start
This guide will walk you through setting up ZeroLimit and connecting it to CLIProxyAPI to start monitoring your AI coding assistant quotas.Before you begin, make sure you have installed ZeroLimit on your system.
First Launch
When you launch ZeroLimit for the first time, you’ll be greeted with an onboarding wizard that guides you through the setup process.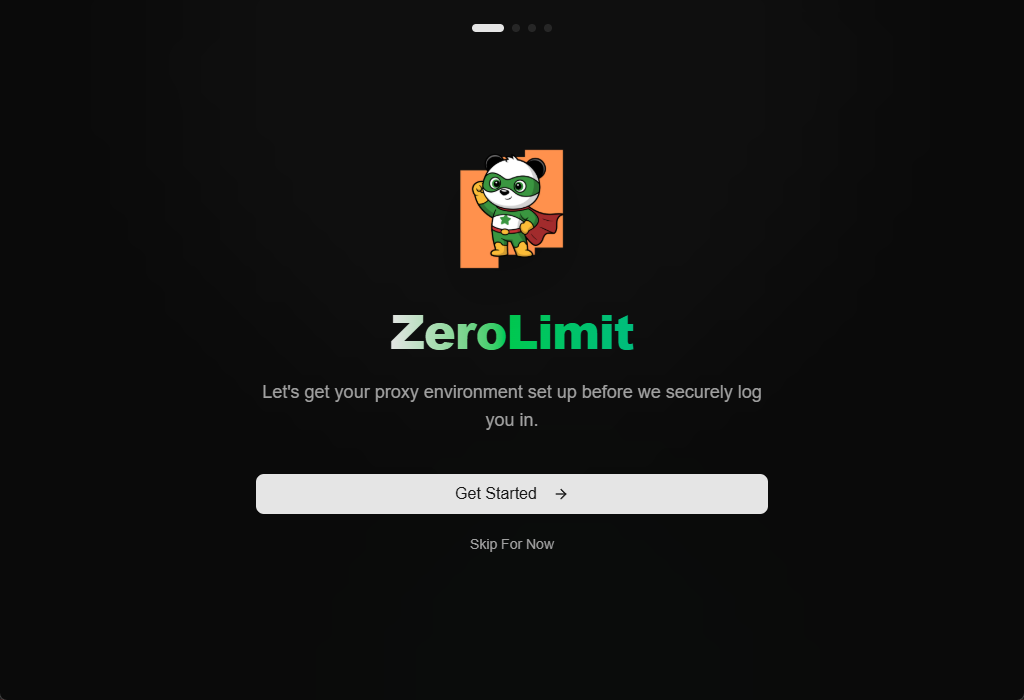
Choose Setup Method
ZeroLimit offers three setup methods. Select the one that best fits your needs:
- Auto Download (Recommended)
- Manual Setup
- Remote Server
The easiest way to get started. ZeroLimit will automatically download and configure CLI Proxy.Best for: First-time users who want the quickest setup.
Setup Method 1: Auto Download
This is the recommended approach for most users.Choose Version
Select which version of CLI Proxy to download:
The Plus version is required for GitHub Copilot and Kiro (CodeWhisperer) support.
Automatic Download
ZeroLimit will automatically:
- Download the correct binary for your operating system
- Extract the files to the appropriate location
- Prepare the configuration
Setup Method 2: Manual Setup
For users who prefer to manage CLI Proxy themselves.Download CLI Proxy
Download the CLI Proxy executable manually:
- Standard: CLIProxyAPI Releases
- Plus: CLIProxyAPI Plus Releases
Browse to Executable
Click Browse and navigate to your CLI Proxy executable:
- Windows:
cli-proxy-api.exeorcli-proxy-api-plus.exe - macOS/Linux:
cli-proxy-apiorcli-proxy-api-plus
Set Management Key
Enter the same Management Key that you configured in CLI Proxy’s
config.yaml file.If you haven’t configured CLI Proxy yet, rename
config-example.yaml to config.yaml and set the secret-key value.Setup Method 3: Remote Server
Connect to a remote CLI Proxy server hosted elsewhere.Enter Server Details
Fill in the connection information:
- API Base URL: Your remote server address (e.g.,
https://llm.yourdomain.com) - Management Key: The
secret-keyfrom your server’sconfig.yaml
Check Remember credentials to save your login details for future sessions.
First Login
After completing setup, you’ll see the main dashboard: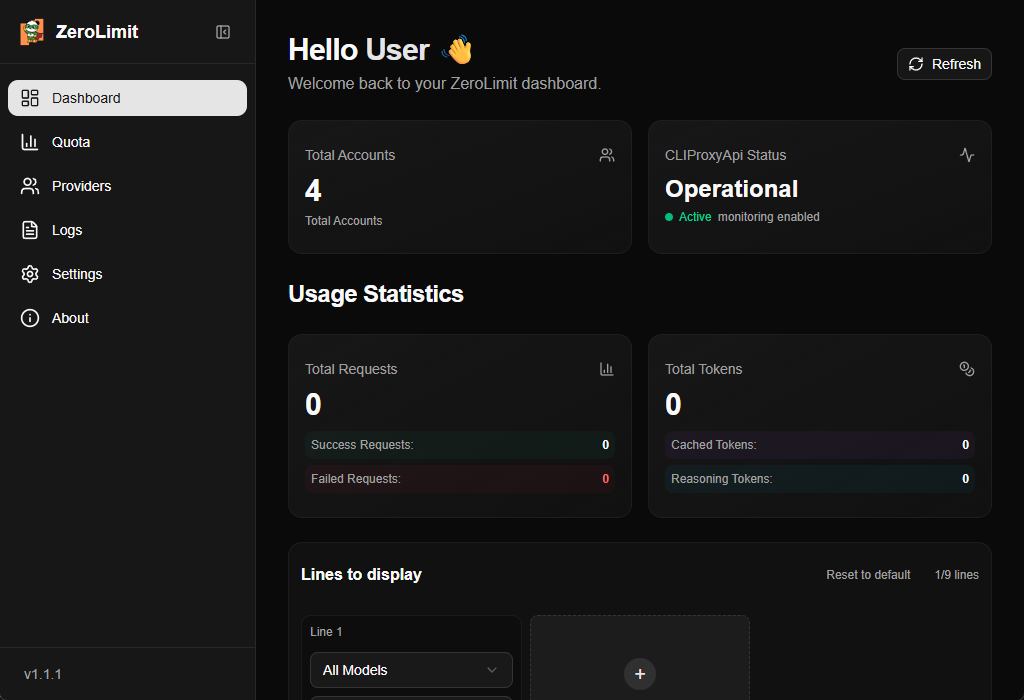 The dashboard displays:
- Total Accounts: Number of authenticated AI provider accounts
- System Status: Connection status of CLI Proxy
- Usage Statistics: Total requests and tokens (if enabled)
- Request Trends: Visual charts showing usage over time
- Token Usage: Token consumption patterns
Adding Provider Accounts
To start monitoring quotas, you need to authenticate with AI providers.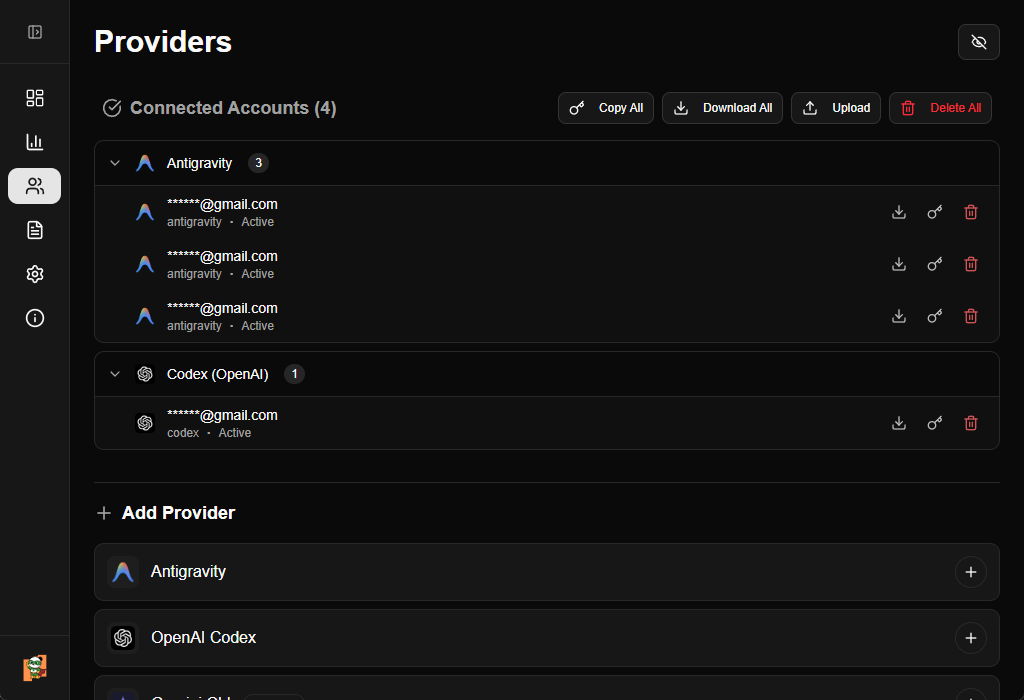
Select a Provider
Choose from the available providers:
Antigravity
OAuth authentication
OpenAI Codex
OAuth authentication
Gemini CLI
OAuth authentication (requires Project ID)
Anthropic Claude
OAuth authentication
Kiro
OAuth authentication (Plus only)
GitHub Copilot
OAuth authentication (Plus only)
Authenticate
Click Add Account next to the provider and follow the OAuth flow in your browser.
For Gemini CLI, you’ll also need to provide a Project ID during authentication.
Viewing Quota Information
After adding accounts, navigate to the Quota page to see detailed quota information: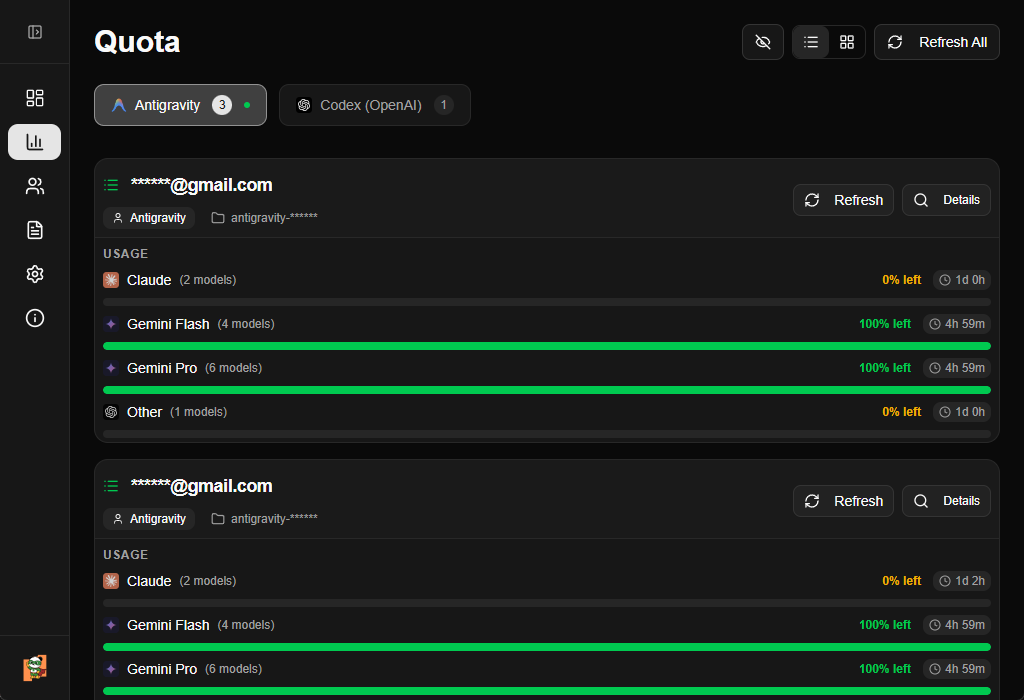 The quota page shows:
- Provider cards with usage bars
- Remaining quota for each account
- Quota limits and reset times
- Filter by provider to focus on specific accounts
Configuring Settings
Customize ZeroLimit to fit your workflow: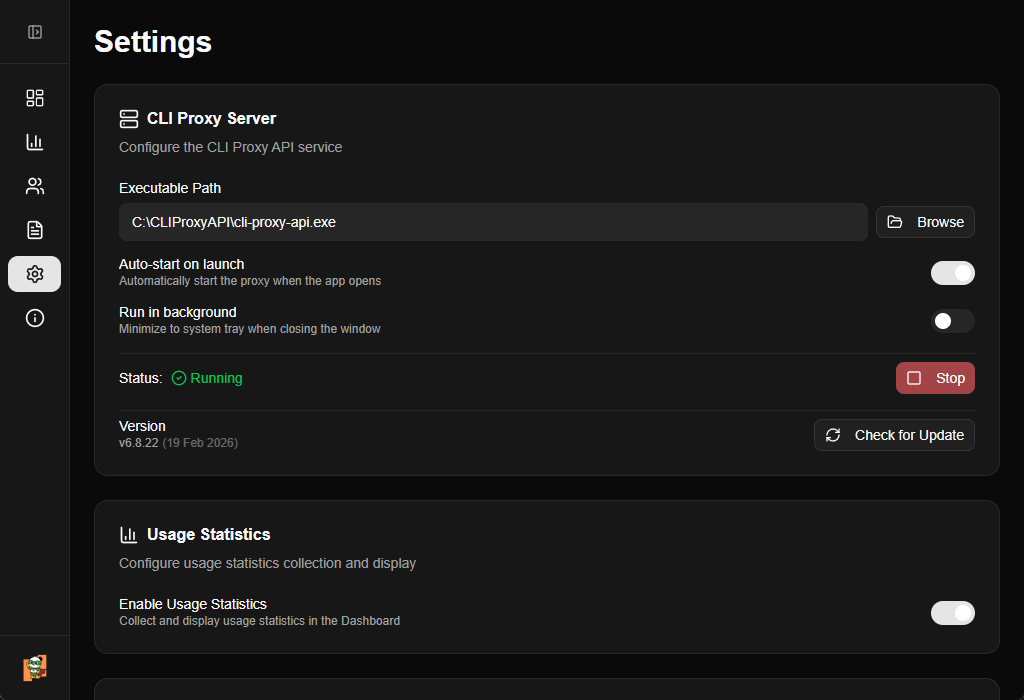
CLI Proxy Server
Configure proxy behavior:
- Executable Path: Update the path to your CLI Proxy executable (local only)
- Auto-start on launch: Automatically start the proxy when ZeroLimit opens
- Run in background: Hide to system tray when closing the window
- Check for Updates: Enable automatic update checks for CLI Proxy
Appearance
Customize the interface:
- Theme: Choose Light, Dark, or System (follows OS preference)
- Language: Select from English, Chinese, Indonesian, Japanese, Korean, Vietnamese, or Thai
System Tray Usage
When Run in background is enabled:- Closing the window minimizes ZeroLimit to the system tray
- Click the tray icon to restore the window
- Right-click the tray icon for quick actions:
- Open: Restore the main window
- Quit: Completely exit ZeroLimit
Troubleshooting
Encountering issues? Here are common solutions:Proxy Won't Start (Local)
Proxy Won't Start (Local)
- Verify the executable path is correct in Settings
- Check if another instance of CLI Proxy is already running
- Try running ZeroLimit as Administrator (Windows) or with sudo (Linux/macOS)
- Check the logs page for error messages
Auto Download Failed
Auto Download Failed
- Check your internet connection
- GitHub API may be rate-limited - wait a few minutes and try again
- Use Manual Setup instead and download the binary directly
Connection Failed
Connection Failed
- Ensure CLI Proxy is running (green status indicator)
- Verify the API Base URL is correct
- For HTTPS connections, check that the SSL certificate is valid
- Check if a firewall is blocking the connection
Login Failed
Login Failed
- Verify your Management Key matches the
secret-keyinconfig.yaml - If using a fresh CLI Proxy installation, rename
config-example.yamltoconfig.yaml - Restart the CLI Proxy server after making configuration changes
Quota Data Not Loading
Quota Data Not Loading
- Make sure you’ve authenticated with at least one provider
- Click the refresh button to manually reload quota data
- Check the connection status on the dashboard
- Verify CLI Proxy has network access to provider APIs
Next Steps
Now that you’re up and running:Explore the Dashboard
Dive into usage statistics and trends
Add More Providers
Connect additional AI coding assistants
Customize Settings
Tailor ZeroLimit to your preferences
Join the Community
Report issues and contribute on GitHub