
Overview

This guide walks you through creating your first Spec-Driven Development project using Spec Kit. You’ll go from installation to a complete specification, implementation plan, and working code.
Time to complete: 15-20 minutesWhat you’ll build: A photo album organizer application with drag-and-drop functionality

Prerequisites

Before starting, ensure you have:
  • Completed the Installation steps
  • An AI coding assistant installed (Claude Code, Copilot, etc.)
  • Basic familiarity with your terminal and Git

The 6-Step Process

Spec-Driven Development follows a structured workflow:

Initialize Project

Set up your project structure and AI assistant integration

Define Constitution

Establish governing principles and development guidelines

Create Specification

Describe what you want to build (the what and why)

Clarify Requirements

Resolve ambiguities through structured questioning

Generate Technical Plan

Convert requirements into technical architecture

Implement

Break down into tasks and execute implementation

Step 1: Initialize Your Project

Create a new project directory and initialize Spec Kit:
# Create a new project with Claude Code
specify init photo-organizer --ai claude

# Navigate to the project
cd photo-organizer
What happens during initialization:
  • Creates .specify/ directory with templates and scripts
  • Sets up agent-specific command files (e.g., .claude/commands/)
  • Initializes Git repository (unless --no-git specified)
  • Configures both Bash and PowerShell script variants
Context Awareness: Spec Kit commands automatically detect the active feature based on your current Git branch (e.g., 001-photo-albums). To work on different specifications, simply switch Git branches.

Step 2: Launch Your AI Assistant

Open your AI coding assistant in the project directory:
cd photo-organizer
claude
Verify that the Spec Kit slash commands are available:
  • /speckit.constitution
  • /speckit.specify
  • /speckit.clarify
  • /speckit.plan
  • /speckit.tasks
  • /speckit.implement
Bootstrapping Claude Code environment

Step 3: Establish Project Constitution

Use the /speckit.constitution command to create your project’s governing principles:
/speckit.constitution Create principles focused on code quality, testing standards, 
user experience consistency, and performance requirements. The application should 
prioritize simplicity and use minimal dependencies. All features must be fully 
tested. Performance should be optimized for handling thousands of photos.
What this creates:
  • .specify/memory/constitution.md with your foundational guidelines
  • Principles that the AI agent references during specification, planning, and implementation
  • A versioned document that guides all technical decisions
# Project Constitution

## Version
- Version: 1.0.0
- Ratified: 2026-03-01
- Last Amended: 2026-03-01

## Principles

### 1. Simplicity First
Prioritize simple, maintainable solutions over complex architectures. 
Use minimal dependencies and avoid over-engineering.

**Rationale**: Simple code is easier to understand, test, and maintain.

### 2. Test-Driven Quality
All features must have comprehensive test coverage before merging.
Unit tests, integration tests, and end-to-end tests are mandatory.

**Rationale**: Testing ensures reliability and catches regressions early.

### 3. Performance Optimization
The application must handle thousands of photos efficiently with 
fast load times and smooth interactions.

**Rationale**: User experience depends on responsive performance.

### 4. User Experience Consistency
UI patterns and interactions must be consistent throughout the application.
Follow established design patterns and accessibility guidelines.

**Rationale**: Consistent UX reduces cognitive load and improves usability.

Step 4: Create Your Specification

Use the /speckit.specify command to describe what you want to build. Focus on the what and why, not the tech stack:
/speckit.specify Build an application that helps me organize my photos into 
separate photo albums. Albums are grouped by date and can be reorganized by 
dragging and dropping on the main page. Albums are never nested inside other 
albums. Within each album, photos are previewed in a tile-like grid interface. 
Each photo should show a thumbnail, capture date, and file size. Users can add 
new albums, delete albums, and move photos between albums using drag and drop. 
The application should feel responsive even with hundreds of albums and thousands 
of photos.
What happens:
  1. AI analyzes your description and generates a concise feature name (e.g., photo-album-organizer)
  2. Checks for existing branches/specs and assigns the next feature number (e.g., 001)
  3. Creates a new Git branch: 001-photo-album-organizer
  4. Generates a specification file: .specify/specs/001-photo-album-organizer/spec.md
  5. Creates a quality checklist to validate specification completeness
The generated specification includes:
  • Feature Overview: High-level description and objectives
  • User Scenarios: Concrete examples of how users interact with the feature
  • Functional Requirements: Detailed, testable requirements
  • Success Criteria: Measurable outcomes (technology-agnostic)
  • Key Entities: Data models and relationships
  • Edge Cases: Boundary conditions and error scenarios
  • Assumptions: Documented reasonable defaults
  • Out of Scope: Explicit boundaries of what won’t be built
Specify CLI creating a feature

Step 5: Clarify Requirements

Use the /speckit.clarify command to resolve ambiguities through structured questioning:
/speckit.clarify Focus on data storage, security, and performance requirements.
The clarification workflow:
  1. AI scans the specification for [NEEDS CLARIFICATION] markers
  2. Presents questions with multiple-choice options and implications
  3. You provide answers (e.g., “Q1: A, Q2: Custom - store metadata in SQLite, Q3: B”)
  4. AI updates the specification with your answers
  5. Re-validates the specification checklist
Spec Kit limits clarification markers to a maximum of 3 critical questions. The AI makes informed guesses for everything else, prioritizing questions by impact: scope > security > user experience > technical details.
Example clarification questions:
## Question 1: Photo Storage Location

**Context**: "Images are not uploaded anywhere and metadata is stored locally"

**What we need to know**: Where should the application store photo files and metadata?

**Suggested Answers**:

| Option | Answer | Implications |
|--------|--------|-------------|
| A | Photos stay in their original filesystem locations, only metadata is copied | Minimal storage overhead, risk if original files move |
| B | Photos are copied into a managed directory structure | Requires more storage but guarantees availability |
| C | Photos are imported with configurable behavior | Flexible but more complex UI |
| Custom | Provide your own answer | Explain your preferred approach |

**Your choice**: _[Wait for user response]_

Step 6: Generate Technical Plan

Use the /speckit.plan command to define your tech stack and architecture:
/speckit.plan The application uses Vite with a minimal number of libraries. 
Use vanilla HTML, CSS, and JavaScript as much as possible to keep it simple. 
Images are not uploaded anywhere - they stay on the local filesystem. 
Metadata about albums and photo organization is stored in a local SQLite 
database. Use the File System Access API for photo selection. Implement 
virtual scrolling for performance with large photo collections.
What the AI generates:

Implementation Plan

.specify/specs/001-photo-album-organizer/plan.mdTechnical architecture, technology choices, and implementation phases

Data Model

.specify/specs/001-photo-album-organizer/data-model.mdEntity definitions, relationships, and database schema

API Contracts

.specify/specs/001-photo-album-organizer/contracts/API specifications, endpoints, and interface definitions

Quick Start Guide

.specify/specs/001-photo-album-organizer/quickstart.mdHow to run, test, and validate the implementation
Validation step: Ask your AI assistant to validate the plan against the constitution:
Please audit the implementation plan to ensure it aligns with our constitution 
principles. Check for: simplicity (minimal dependencies), test coverage plans, 
performance optimizations for handling thousands of photos, and UX consistency.

Step 7: Break Down Into Tasks

Use the /speckit.tasks command to generate an actionable task list:
/speckit.tasks
The task breakdown includes:
  • Tasks organized by user story/implementation phase
  • Dependency ordering (models → services → endpoints → UI)
  • Parallel execution markers [P] for independent tasks
  • File path specifications for each task
  • Test-driven development structure
  • Checkpoint validations after each phase
## Phase 1: Core Data Layer

### Tasks

1. **[P] Create SQLite database schema**
   - File: `src/db/schema.sql`
   - Create albums table (id, name, created_date, sort_order)
   - Create photos table (id, album_id, filepath, thumbnail_path, capture_date, file_size)
   - Create indexes for common queries

2. **[P] Implement database access layer**
   - File: `src/db/database.js`
   - Initialize database connection
   - Create CRUD operations for albums
   - Create CRUD operations for photos
   - Add transaction support

3. **Write tests for database layer**
   - File: `tests/db/database.test.js`
   - Test album CRUD operations
   - Test photo CRUD operations
   - Test transaction rollback scenarios
   - Test concurrent access handling

**Checkpoint**: All database tests passing, can create/read/update/delete albums and photos

Step 8: Validate with Analysis

(Optional) Use /speckit.analyze to cross-check consistency:
/speckit.analyze
This validates:
  • All spec requirements are addressed in the plan
  • All plan components map back to requirements
  • No orphaned tasks or missing coverage
  • Constitution compliance throughout

Step 9: Execute Implementation

Use the /speckit.implement command to build your feature:
/speckit.implement
The implementation workflow:
1

Prerequisite Check

Validates that constitution, spec, plan, and tasks exist
2

Checklist Validation

Reviews all quality checklists and warns if items are incomplete
3

Task Execution

Executes tasks in dependency order, respecting parallel markers
4

Test-Driven Development

Writes tests before implementation when specified in tasks
5

Progress Updates

Provides real-time progress and handles errors gracefully
The AI agent will execute local CLI commands (like npm install, vite build, etc.). Make sure you have the required tools installed on your machine based on your tech stack choices.

Step 10: Test and Iterate

After implementation completes:
  1. Run the application following the quickstart guide:
    npm install
    npm run dev
    
  2. Test key scenarios from the specification:
    • Create new albums
    • Add photos to albums
    • Drag and drop photos between albums
    • Reorganize album order
    • Test with hundreds of photos for performance
  3. Resolve runtime errors by copying browser console errors back to your AI assistant
  4. Create a pull request (if using GitHub):
    Create a pull request from this branch to main with a detailed description 
    of the photo album organizer feature.
    

Key Principles

Be Explicit

Clearly articulate what you’re building and why, with concrete examples

Separate Concerns

Don’t focus on tech stack during specification—keep it technology-agnostic

Iterate and Refine

Use /speckit.clarify to resolve ambiguities before planning

Trust the Process

Let the AI handle implementation details after providing clear specifications

Common Pitfalls

Avoid these common mistakes:
  • Mixing specification and implementation: Keep tech stack out of /speckit.specify, save it for /speckit.plan
  • Vague requirements: Be specific about user interactions and acceptance criteria
  • Skipping clarification: Use /speckit.clarify to resolve ambiguities early
  • Over-engineering: Trust your constitution principles to guide simplicity
  • Ignoring checklists: Complete quality checklists before implementation

Phased Implementation Strategy

For complex projects, implement in phases to avoid overwhelming the AI agent’s context:
1

Phase 1: Core Functionality

Implement the essential features that prove the concept works
2

Validate Phase 1

Test thoroughly, fix issues, and verify the foundation is solid
3

Phase 2: Enhanced Features

Add secondary features and optimizations incrementally
4

Iterate

Continue adding features in manageable chunks, validating each phase
Example phased approach for photo organizer:
  • Phase 1: Basic album creation, photo import, simple grid view
  • Phase 2: Drag-and-drop for photos and albums
  • Phase 3: Virtual scrolling and performance optimizations
  • Phase 4: Search, filtering, and advanced organization features

Next Steps

Complete Methodology

Deep dive into the full Spec-Driven Development process

CLI Reference

Explore all available commands, flags, and options

Supported Agents

Learn about all compatible AI coding assistants

Advanced Patterns

Explore advanced workflows and best practices

Example Projects

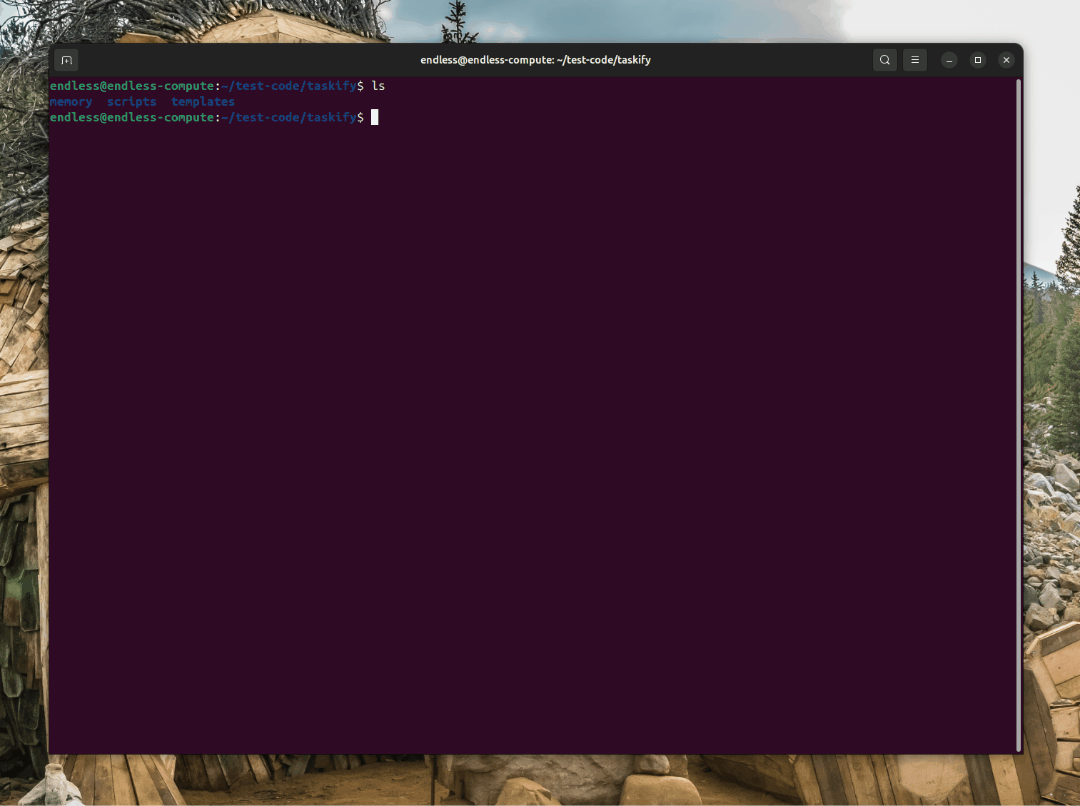
Explore these example specifications and implementations:
  • Taskify: Team productivity platform with Kanban boards (See README examples)
  • Photo Organizer: Album management with drag-and-drop (This quickstart)
  • Custom integrations: Check the examples directory for more

Getting Help

If you encounter issues:
  1. Check the troubleshooting section in the Installation guide
  2. Review command documentation in the CLI Reference
  3. Open a GitHub issue with details about your problem: github.com/github/spec-kit/issues
Remember: Spec-Driven Development is about amplifying human creativity, not replacing it. You provide the vision and critical thinking; the AI handles the mechanical translation to code.

Build docs developers (and LLMs) love