Your First 5 Minutes with HAI Build
This guide will take you from installation to successfully completing your first AI-assisted development task.Before you begin, ensure you’ve installed HAI Build and configured at least one LLM provider.
Understanding HAI Build’s Workflow
HAI Build operates differently from autocomplete tools. Here’s how it works:Task 1: Analyze Your Project Structure
Let’s start with something simple to understand how HAI explores and understands codebases.Open HAI Build
Click the HAI icon in the activity bar or press
Ctrl+' (Windows/Linux) or Cmd+' (macOS)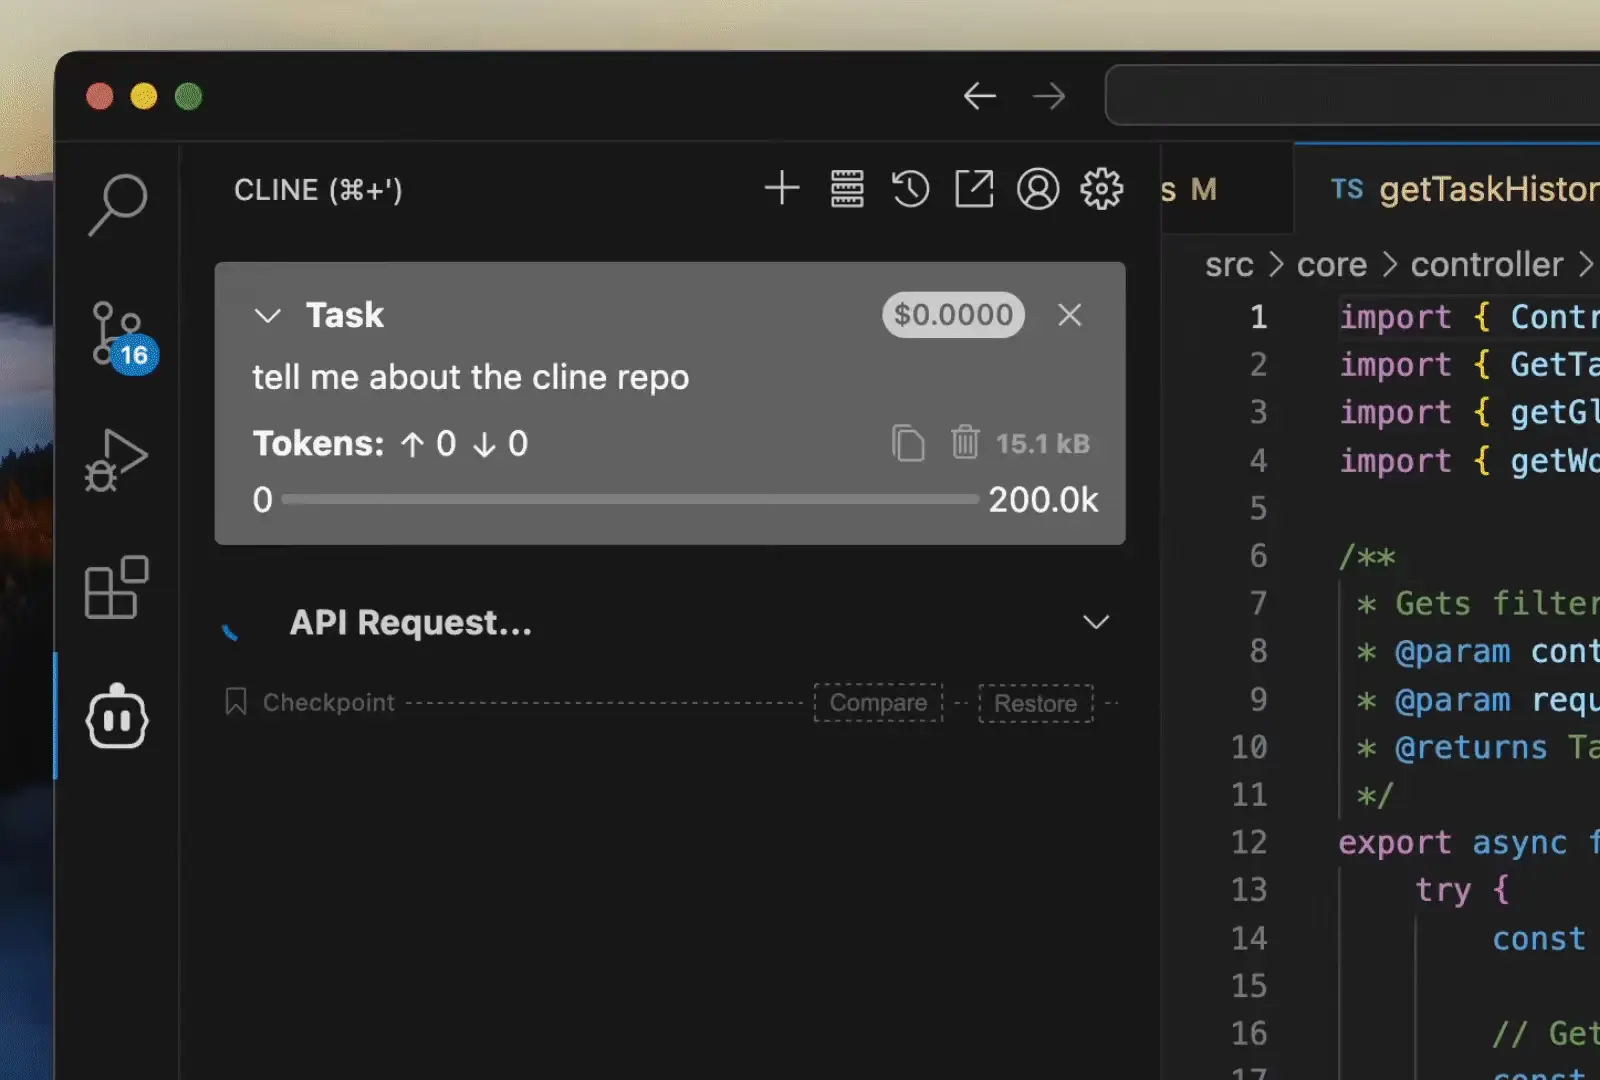
What to Observe
Watch how HAI:- Reads files: You’ll see HAI exploring your codebase in the activity feed
- Builds context: HAI identifies key files, dependencies, and architecture patterns
- Asks questions: If anything is unclear, HAI will ask for clarification
- Provides analysis: You receive a structured explanation of your project
HAI’s initial exploration helps it understand your codebase structure. This context improves all subsequent tasks.
Task 2: Generate Code with Context
Now let’s have HAI write some code based on your project’s patterns.Describe Your Goal
Be specific about what you want. For example:“Create a new utility function called
formatUserData that takes a user object and returns a formatted string with the user’s full name and email. Follow the existing code style in this project.”Review the Plan
HAI will present a plan showing:
- Which files it will create or modify
- What the implementation will look like
- Why it chose this approach

Understanding the Diff View
When HAI proposes changes, you’ll see:- Red lines: Code being removed
- Green lines: Code being added
- White lines: Unchanged context
Task 3: Refactor Existing Code
Let’s improve existing code while maintaining functionality.Request Improvement
HAI will include the selected code in context. Request specific improvements:“Refactor this function to be more readable and add TypeScript types. Also add error handling for edge cases.”
Alternative: Use Context Menu
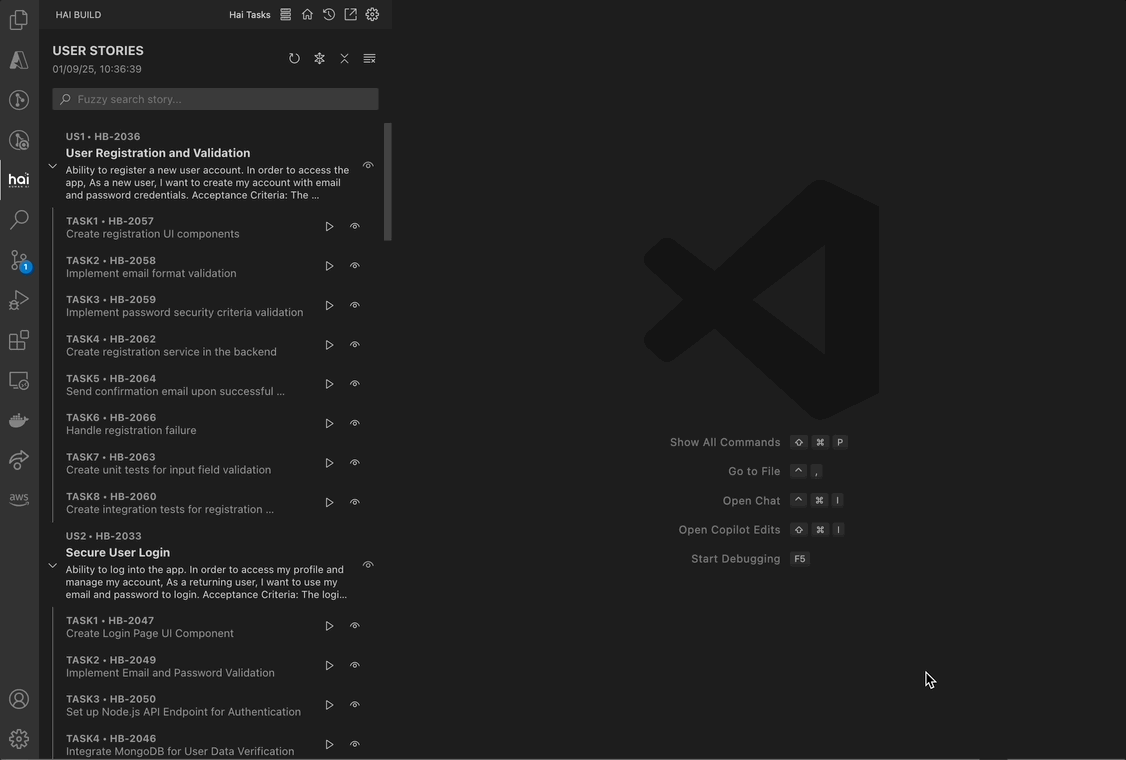
For common operations, use the context menu shortcuts:Task 4: Work with HAI Tasks Integration
If you’re using Specif AI for task generation:View Task Details
Click the eye icon next to any task to see:
- Task description and objectives
- Prerequisites and dependencies
- Expected outcomes
Advanced Workflows
Using Domain Experts
Customize HAI’s behavior with domain-specific experts:Choose Built-in Expert
Select from .NET, Terraform, Node.js, or Go experts for predefined best practices
Create Custom Expert
Define your own guidelines and attach reference documentation:
- Expert name (required)
- Custom guidelines in
prompt.md(required) - Up to 3 reference document links (optional)
Custom experts are stored in
.hai-experts/[expert-name]/ with metadata.json and prompt.md. Reference documents are processed into the docs/ subfolder.Git Integration
Let HAI help with version control:Generate Commit Message
Click the HAI icon in the Source Control title bar, or use Command Palette:
HAI: Generate Commit Message with HAIMCP Server Integration
Extend HAI’s capabilities with Model Context Protocol servers:Browse Available Servers
Explore integrations for:
- Database connections (PostgreSQL, MongoDB, etc.)
- External APIs (GitHub, Slack, etc.)
- Development tools (Docker, Kubernetes, etc.)
Install and Configure
Install desired servers and provide configuration (connection strings, API keys)
Jupyter Notebook Support
For data science and ML workflows:Best Practices
Be Specific
Provide clear, detailed descriptions of what you want to achieve. Include context about your project’s architecture and constraints.
Review Everything
Always review proposed changes before approval. HAI is intelligent but you know your codebase best.
Iterate Freely
If HAI’s first approach isn’t quite right, ask for adjustments. The conversation is iterative.
Leverage Context
Use “Add to HAI” to include relevant code. More context leads to better results.
Effective Prompting Examples
Managing HAI’s Activity
Task History
View and restore previous conversations:Checkpoints and Rollback
HAI uses checkpoints to enable easy rollback: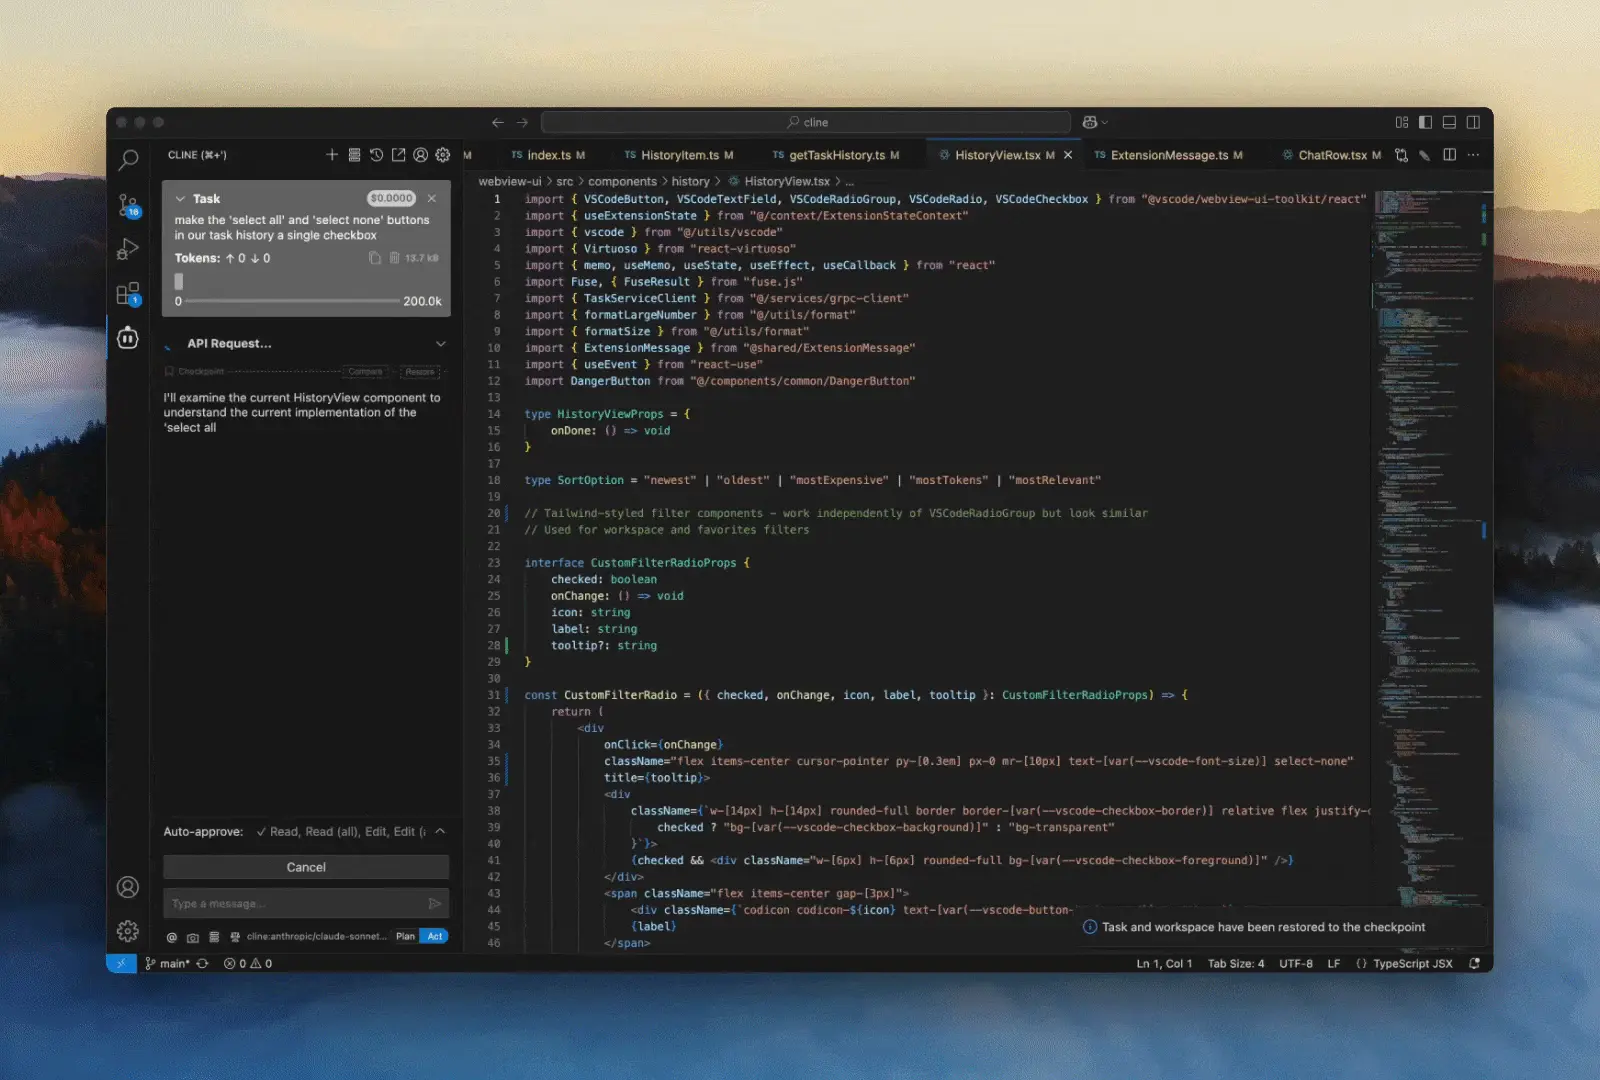
- Each approved change creates a checkpoint
- You can revert to any previous state
- Full transparency into every file read and modification
Common Workflows
Adding a New Feature
Describe the Feature
“Add a dark mode toggle to the settings page that persists user preference in localStorage”
Fixing a Bug
Describe the Bug
Include:
- What’s happening (unexpected behavior)
- What should happen (expected behavior)
- Steps to reproduce
- Any error messages
Writing Documentation
Request Documentation
“Add JSDoc comments to this function with parameter descriptions, return value, and usage examples”
Keyboard Shortcuts Cheat Sheet
Troubleshooting Common Issues
HAI Doesn’t Understand Context
Changes Not Applied as Expected
Request Adjustments
If the approach isn’t right, ask HAI to modify: “Can you preserve the existing error handling?”
Performance Issues
Next Steps
Now that you’re productive with HAI Build:Explore Custom Experts
Create domain-specific experts for your team’s standards and practices
Try MCP Integration
Connect HAI to databases, APIs, and external tools
Set Up Telemetry
Monitor AI usage across your team with Langfuse or PostHog
Join the Community
Contribute to HAI Build and share your experiences
Get Help
Documentation
Browse comprehensive guides and references
GitHub Issues
Report bugs or request features
Discussions
Ask questions and share ideas
Email Support
Contact the HAI team directly
Remember: HAI Build is designed to assist and enhance your development workflow, not replace your expertise. You’re always in control.