You do NOT need to publish your app - keeping it in Testing mode is perfectly fine for personal use.
Setup Process
Open Google Cloud Console
Go to Google Cloud ConsoleMake sure you’re logged into the Google account you want to use with Rowboat.
Create a New Project
Visit the project creation page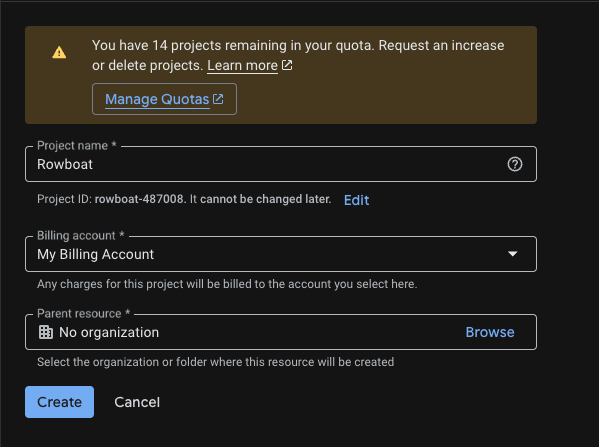
- Click Create Project
- Give it a name (e.g.
Rowboat Integration) - Click Create

Configure OAuth Consent Screen
Go to the OAuth consent screen pageApp Information: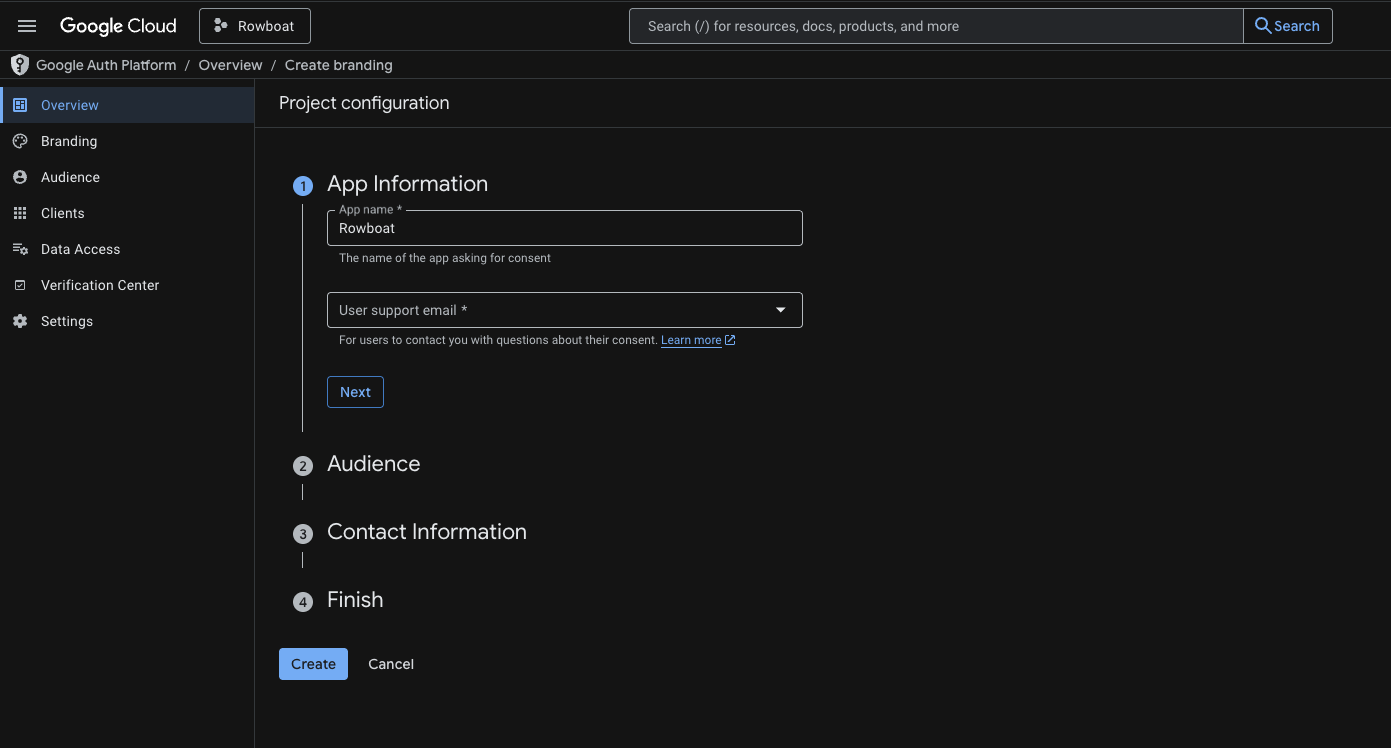
- App name: e.g.
Rowboat - User support email: Your email
- Choose External
- Add your email address
You do NOT need to publish the app - keeping it in Testing mode is fine for personal use.
Add Test Users
If your app is in Testing mode, you must add users manually.Go to the test users pageUnder Test Users: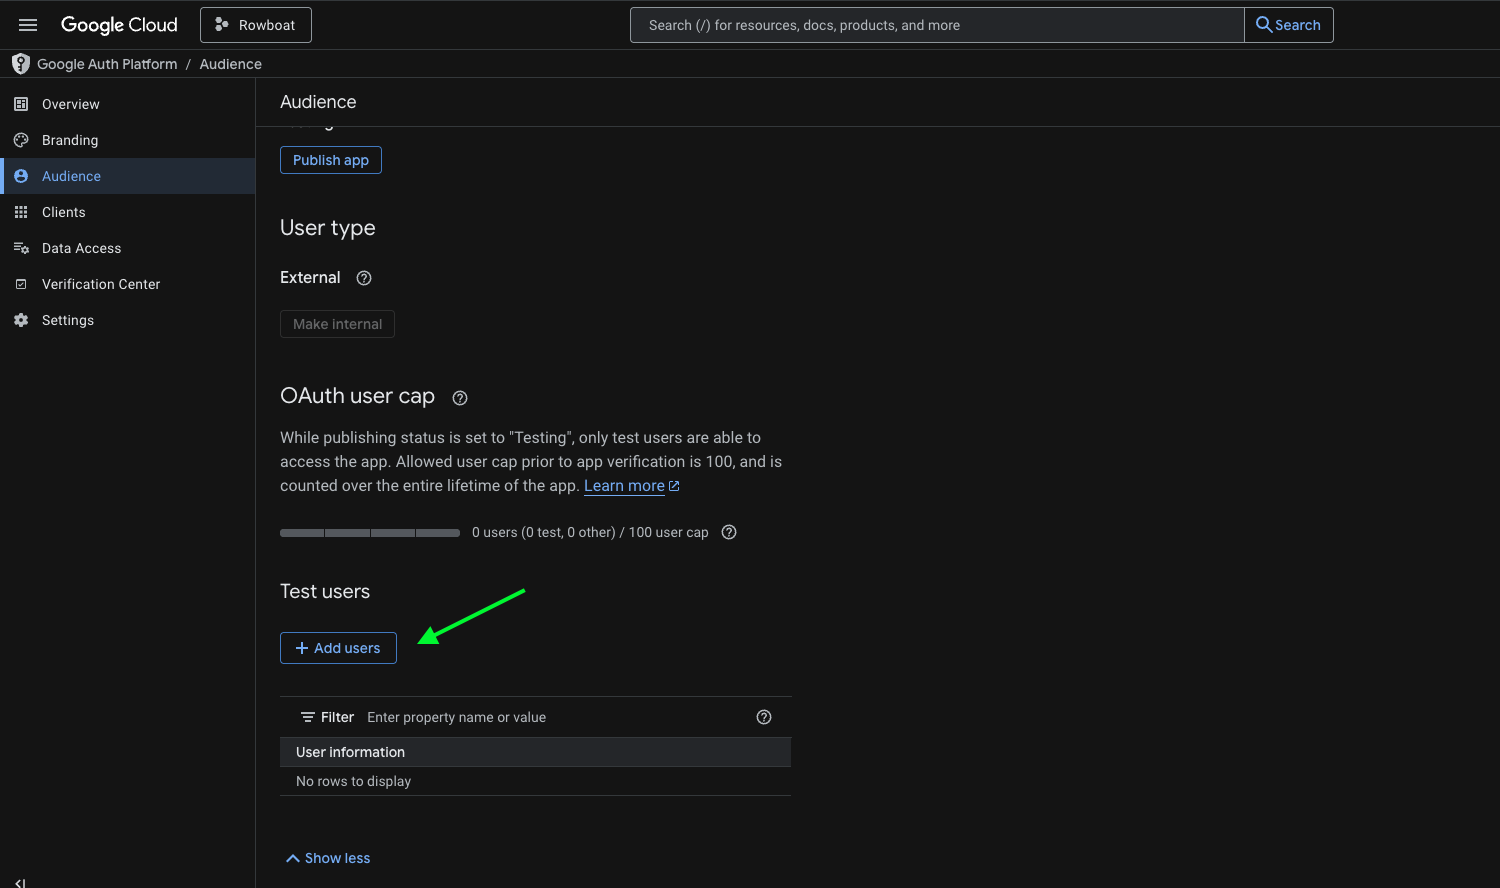
- Click Add Users
- Add the email address you plan to connect with Rowboat
- Save changes
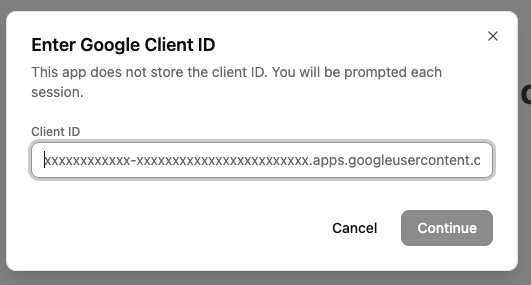
Create OAuth Client ID
Go to the credentials pageClick Create Credentials → OAuth Client IDApplication Type:Select Universal Windows Platform (UWP)
- Name it anything (e.g.
Rowboat Desktop) - Store ID can be anything (e.g.
test) - Click Create
Troubleshooting
”Access blocked” error
If you see an “Access blocked” error when trying to connect:- Make sure you added your email as a test user (Step 5)
- Verify that all three APIs (Gmail, Calendar, Drive) are enabled
- Confirm you’re using the same Google account that you added as a test user
Can’t find UWP option
If you don’t see the Universal Windows Platform (UWP) option:- Make sure you’re on the correct credentials page
- Try selecting “Desktop app” as an alternative - it should work similarly
- Contact support if issues persist
Security Notes
- Your Client ID and credentials are stored locally on your machine
- Rowboat never sends your Google credentials to any external server
- You can revoke access at any time from your Google Account settings