

- Mintlify uses access tokens to pull information from GitLab.
- GitLab uses webhooks to notify Mintlify when you make changes, which enables preview deployments for merge requests. Mintlify adds the webhook to your project when you connect it.
Set up the connection
When you open Git Settings for the first time, a setup wizard guides you through connecting your GitLab repository.1
Select GitLab as your provider
On the Git Settings page, click Connect to GitLab and then click Continue.
2
Download your content
If Mintlify hosts your documentation, download it as a zip file.
- Create a new repository in GitLab.
- Extract the zip contents.
- Push the contents to your repository.
3
Find your project ID
In your GitLab project, navigate to Settings > General and locate your Project ID.
4
Generate an access token
Navigate to Settings > Access Tokens and click Add new token.Configure the token with these settings:
- Name: Mintlify
- Role: Maintainer
- Scopes:
apiandread_api
api scope or can’t publish to your deploy branch, Mintlify rejects it with the message “This GitLab token can’t publish changes. Use a project access token with the Maintainer role and the api scope.”If Project Access Tokens are not available, you can use a Personal Access Token instead. Personal Access Tokens expire, so you must update them when they do.
5
Connect your repository
Back in the setup wizard, fill in the following fields: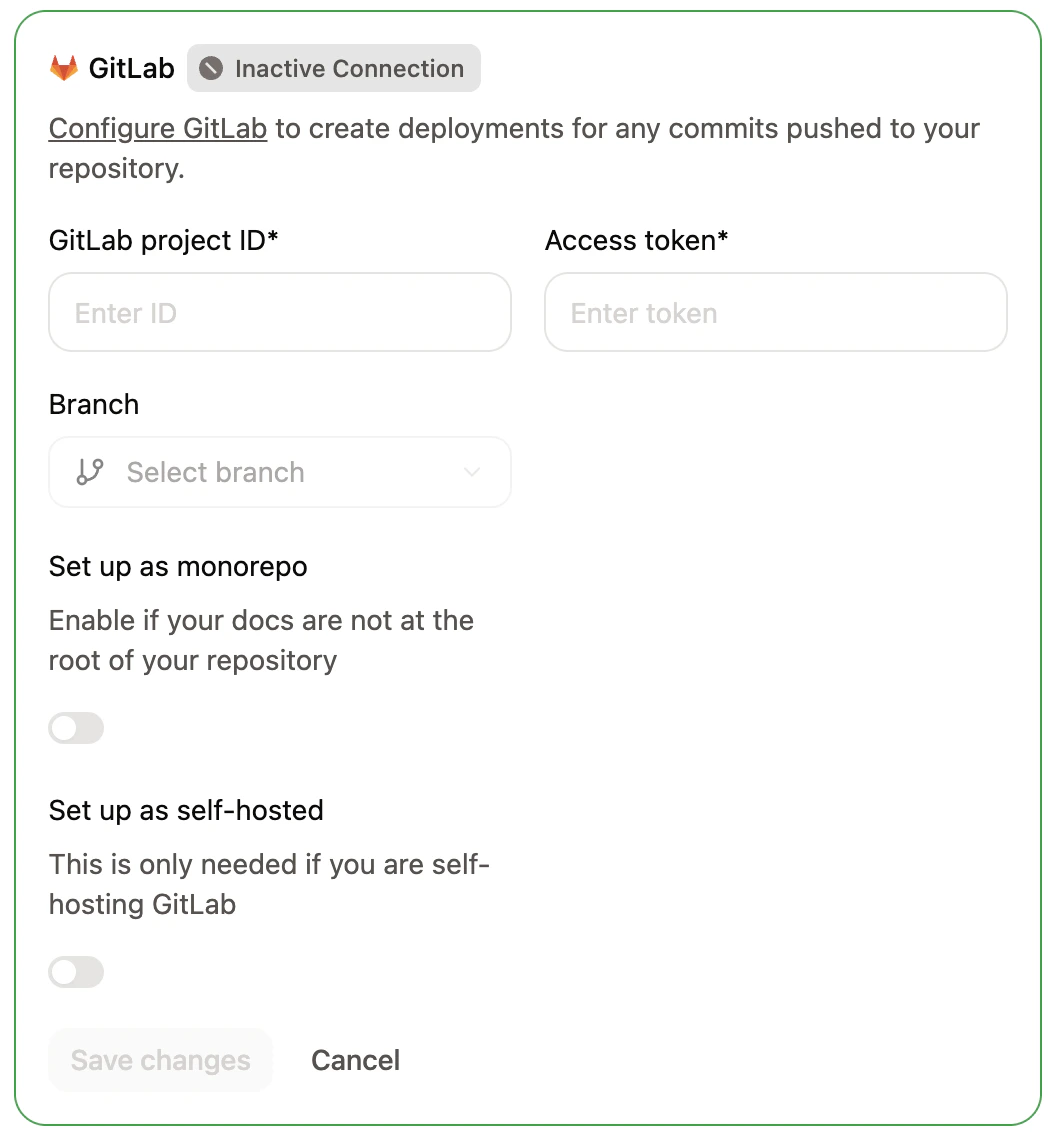
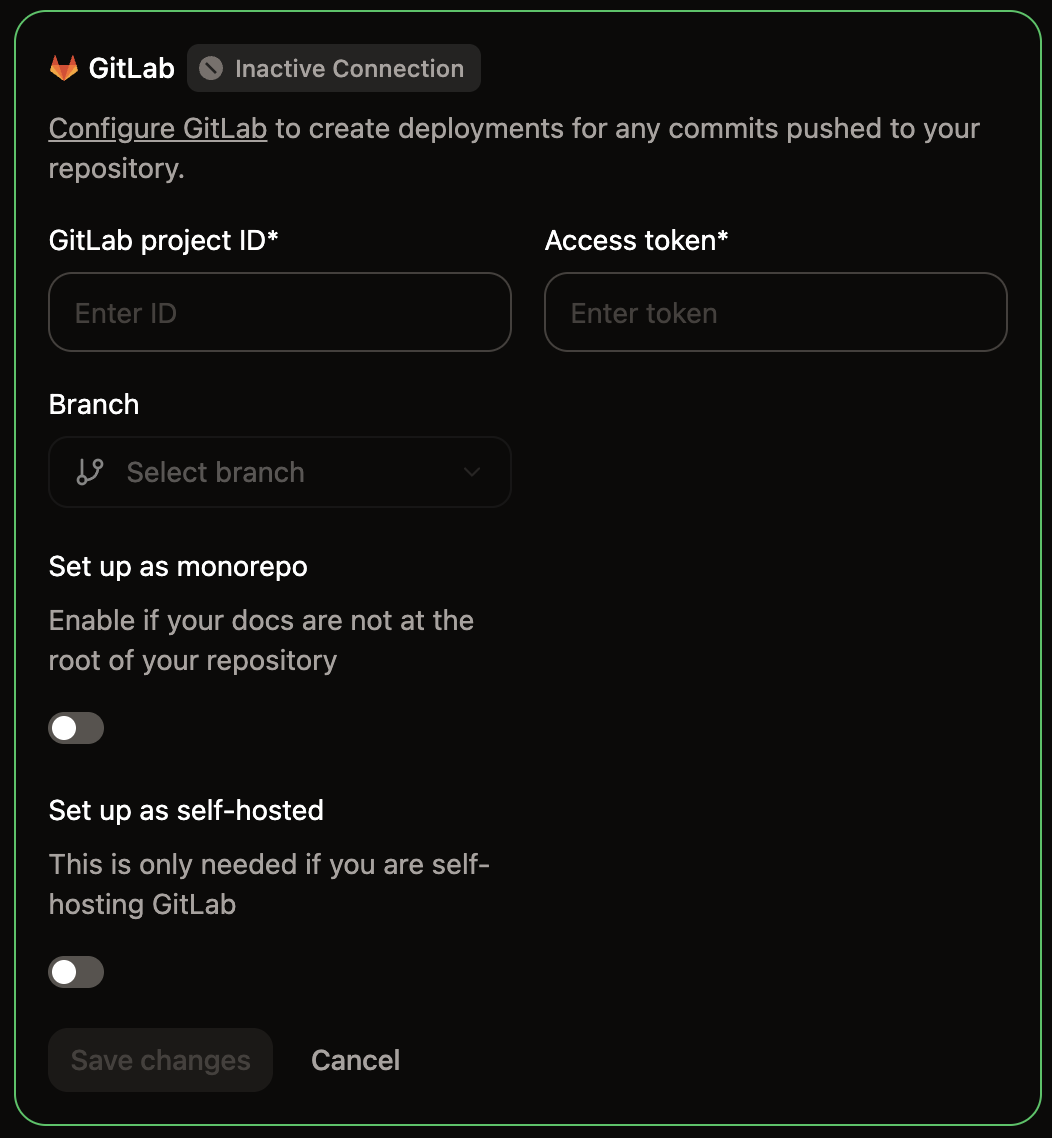
- Project ID: The project ID from your GitLab project settings.
- Branch: Select the branch to deploy your documentation from.
- Deployment token: The access token you generated.
- Self-hosted GitLab instance: Leave off for
gitlab.com. For a self-hosted instance, turn it on and enter your instance URL in GitLab instance URL, for example,https://gitlab.example.com. Your instance must be publicly accessible for Mintlify to reach it. The URL must usehttps://on the default port 443 and can’t include a username or password.
Update an existing connection
To modify your GitLab connection settings after the initial setup, go to Git Settings and update your project ID, access token, branch, or instance URL directly.Revalidate Git settings
If your project shows unexpected behavior, such as missing branch options or stale configuration, you can force Mintlify to refresh your Git source.1
Navigate to Git Settings
Go to Git Settings in your dashboard.
2
Revalidate your settings
Click the green Active badge in the corner of the GitLab settings box to revalidate your Git source.
Create the webhook
Webhooks notify Mintlify when you push changes so that deployments trigger automatically. When you save your GitLab connection, Mintlify uses your access token to add the webhook to your project for you. Each Mintlify project connected to the same GitLab project gets its own webhook. When you save the connection again, Mintlify keeps the webhook it added. If that webhook was deleted or its URL changed, Mintlify adds a new one. If Mintlify can’t add the webhook, for example because the token doesn’t have the Maintainer role, the dashboard opens the Add the GitLab webhook dialog. The dialog shows the webhook URL and secret token to copy, and an Open GitLab webhooks link to your project’s webhook settings. Either save the connection again with a token that has the Maintainer role andapi scope, or follow these steps to create the webhook manually with the values from the dialog.
1
Add new webhook
- In GitLab, navigate to Settings > Webhooks.
- Click Add new webhook.
2
Set up URL and webhook
Name the webhook Mintlify.In the URL field, enter the endpoint
https://leaves.mintlify.com/gitlab-webhook.3
Get the webhook token
In your Mintlify dashboard, click Show webhook token. Copy the webhook token.
4
Paste the webhook token
In GitLab, paste the webhook token from your Mintlify dashboard in the Secret token field.
5
Select events
Select the following events to trigger the webhook:
- Push events (All branches)
- Merge requests events
6
Verify the webhook
You should see the following settings after configuring the webhook:
- Name: Mintlify
- URL:
https://leaves.mintlify.com/gitlab-webhook - Secret token: The webhook token from your Mintlify dashboard
- Events: Push events (All branches) and Merge requests events
7
Test the webhook
After you create the webhook, click the Test dropdown. Click Push events to send a sample payload. If the test returns
Hook executed successfully: HTTP 200, you configured the webhook correctly.Fix connection warnings
Mintlify checks your access token and webhook when you open Git Settings. If either one stops working, Git Settings shows a warning at the top of your GitLab settings, and pushes don’t deploy until you fix it. Only members who can edit Git settings see the warning.
Webhook warnings also show when Mintlify last received a webhook from your project. Mintlify checks the connection again after you save your settings and when you return to the browser tab with Git Settings open, so the warning clears once you fix the problem.
Deployment status in GitLab
Mintlify reports the status of your deployments in GitLab, so you can see whether a build succeeded without opening the dashboard. When you open a pull request against your deploy branch, Mintlify comments on it with the status of its preview deployment. If the preview fails, the comment includes the reason for the failure. When you push to your deploy branch, Mintlify adds a Mintlify Deployment (<subdomain>) commit status to the pushed commit. The status shows whether the production deployment is running, succeeded, or failed, and links to your docs site. Its description explains the result, such as the reason a deployment failed.